Downloads seguros e rápidos de APK no APKPure
O APKPure usa verificação de assinatura para garantir downloads de APK DIY Golden Lightning Tape Nail Art sem vírus para você.
Aqui está uma aplicação dedicada Para DIY Ouro relâmpago Art Tape prego! baixar
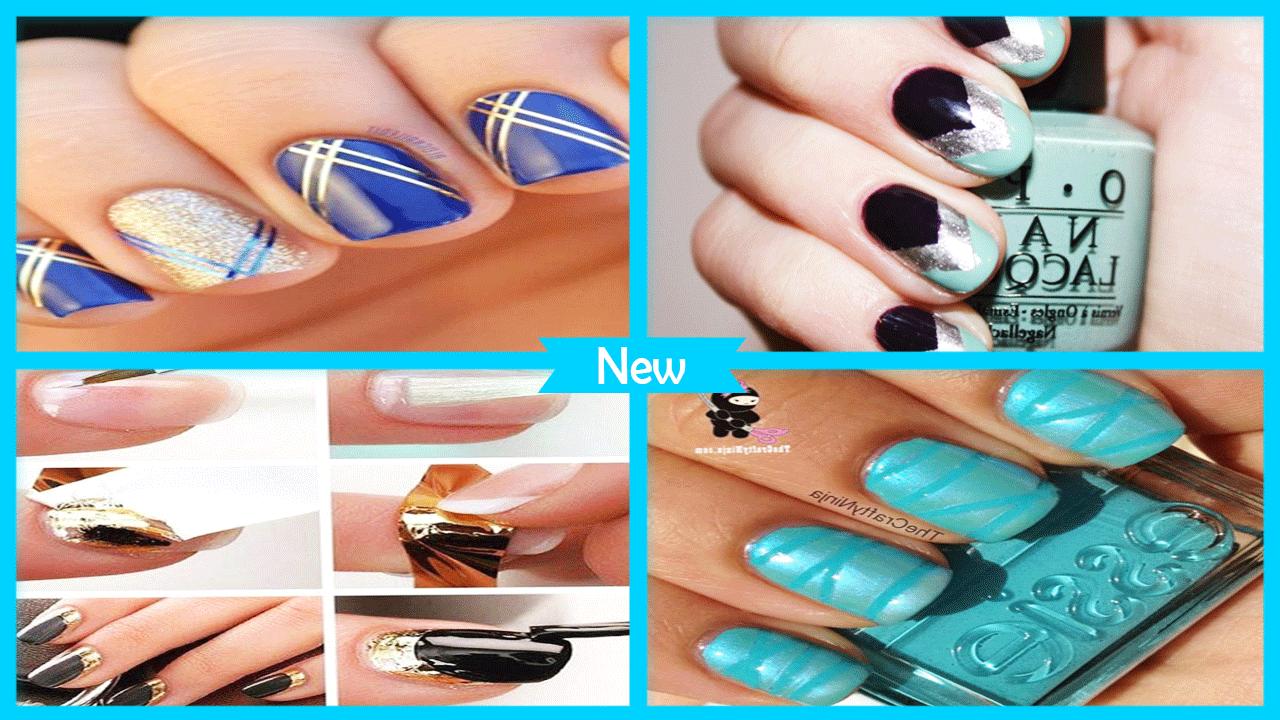
Do you want some edgy nail art to match your fashionable ensemble? Then you will love learning this gorgeous golden lightning tape nail art tutorial!
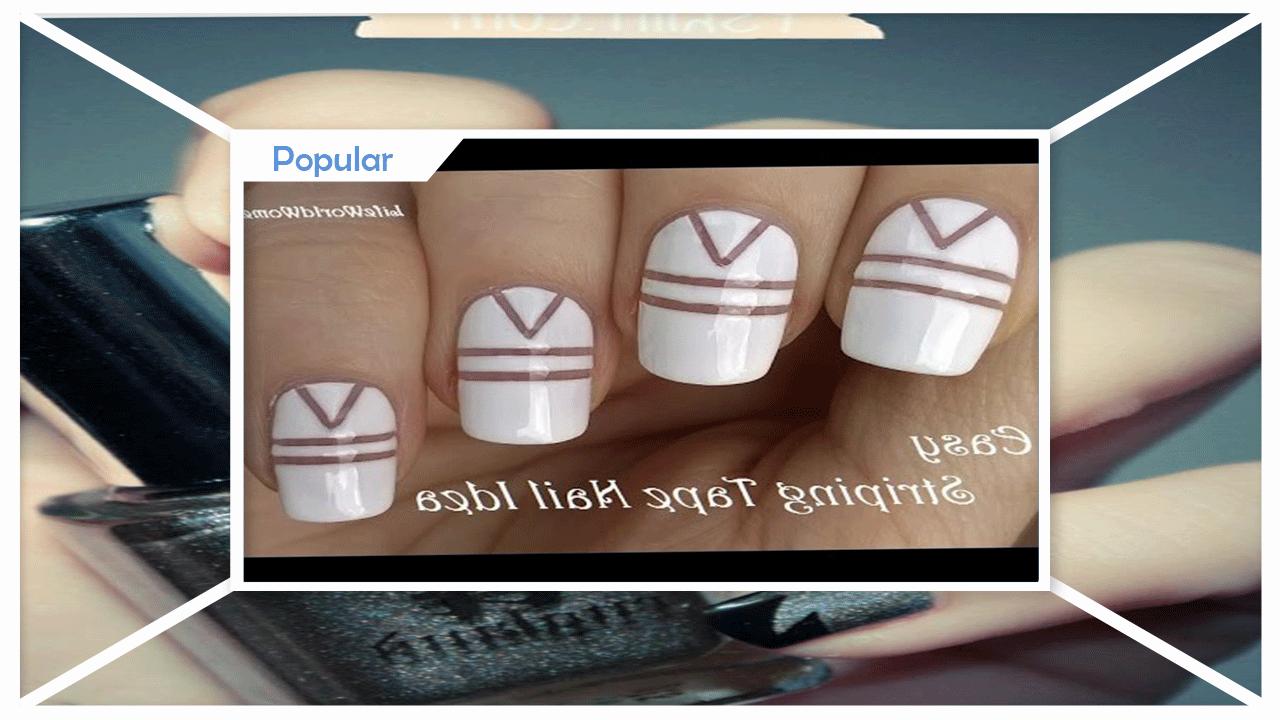
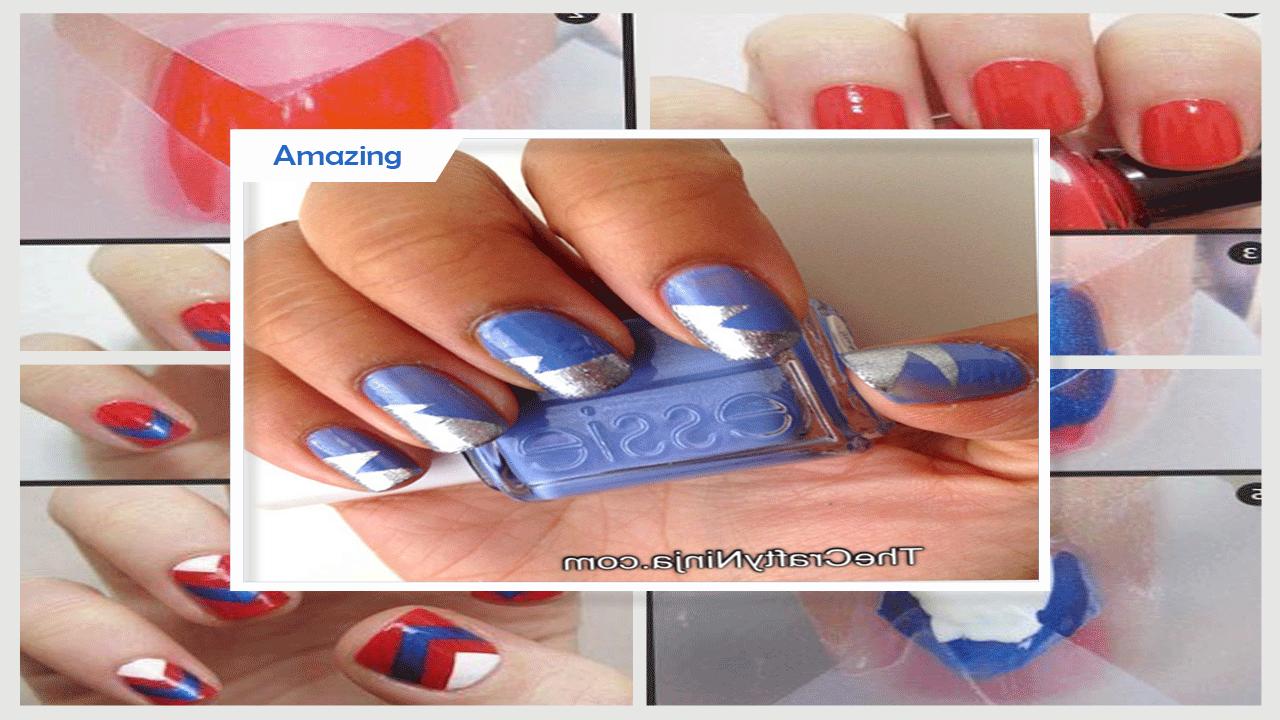
Painting straight lines for your manicure can be frustrating, especially if you have shaky hands. Zigzags would also be a headache! The best solution to this? A roll of tape! You’ll be amazed at how beautiful your nails will turn out with the help of your trusty, multi-functional tape.
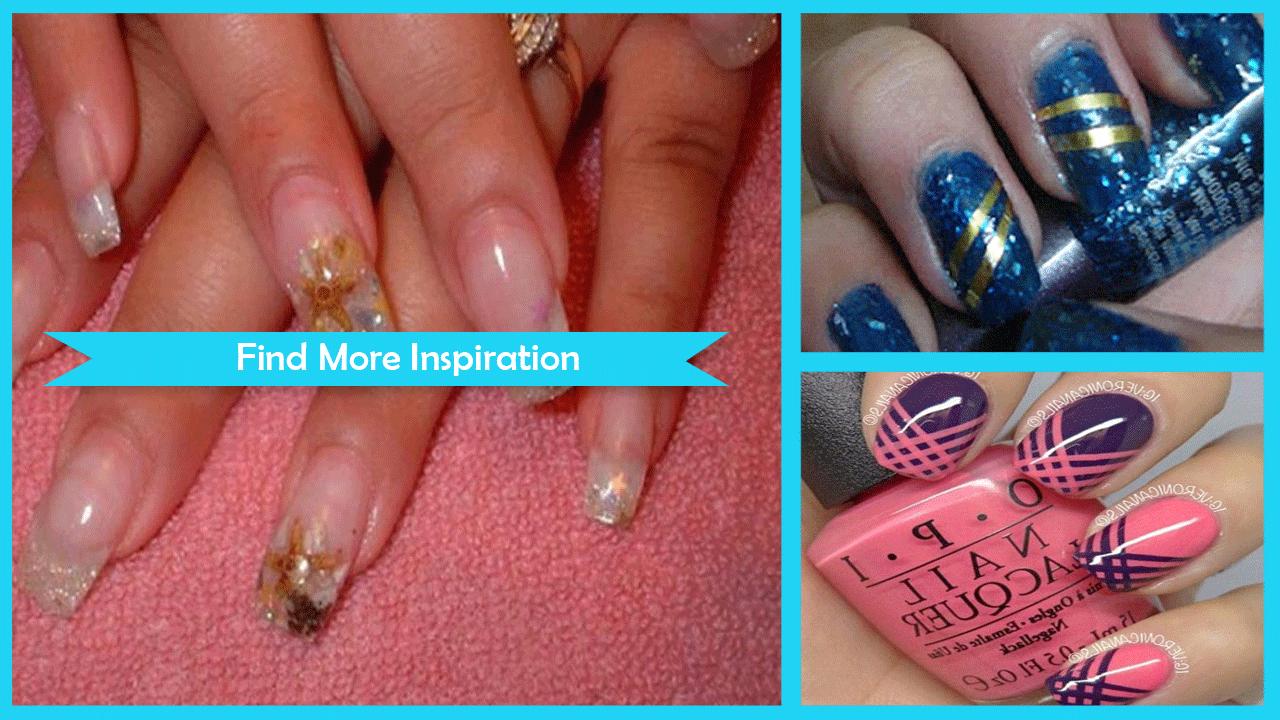
it’s fun to mix up designs, especially with all the gold and silver polishes in my collection.
Chrome nails can look incredible on your nails but I assure you can utilize those bottles of gold, silver or multicolored metallic polishes tucked deep in your storage.
Getting an edgy manicure doesn’t need to be expensive or complicated. You don’t need to go to the salon to get a really cool metallic nail design. This nail art tutorial will teach you how to create a fresh new manicure with just the help of some tape. This willgo perfectly with your holiday look as well!
Are you ready to create a golden lightning built without using any special tools except for a roll of tape? Let’s get started, shall we?
What you’ll need for this golden lightning nail art tutorial using tape:
- Nails Xtreme Wear, White On
- Nails Xtreme Wear Nail Color, Black Out
- Nail Polish
- Rose Gold Holographic Nail Polish
- Scissors
- Clear tape
- Natural Nail Base Coat & Top Coat
Step 1: Base Coat First
Always begin any nail art with your trusted base coat. This will protect your nails from chemical damage and help make the colors of your polish stand out more. Apply the base coat on all your nails and wait for them to dry before starting on your base color.
Step 2: Apply Base Color
Paint your nails black. Sally Hansen, Black Out, has a great formula so you won’t have to apply several coatings for the base color to become really opaque. Make sure to completely dry your base color before moving on to the next step.
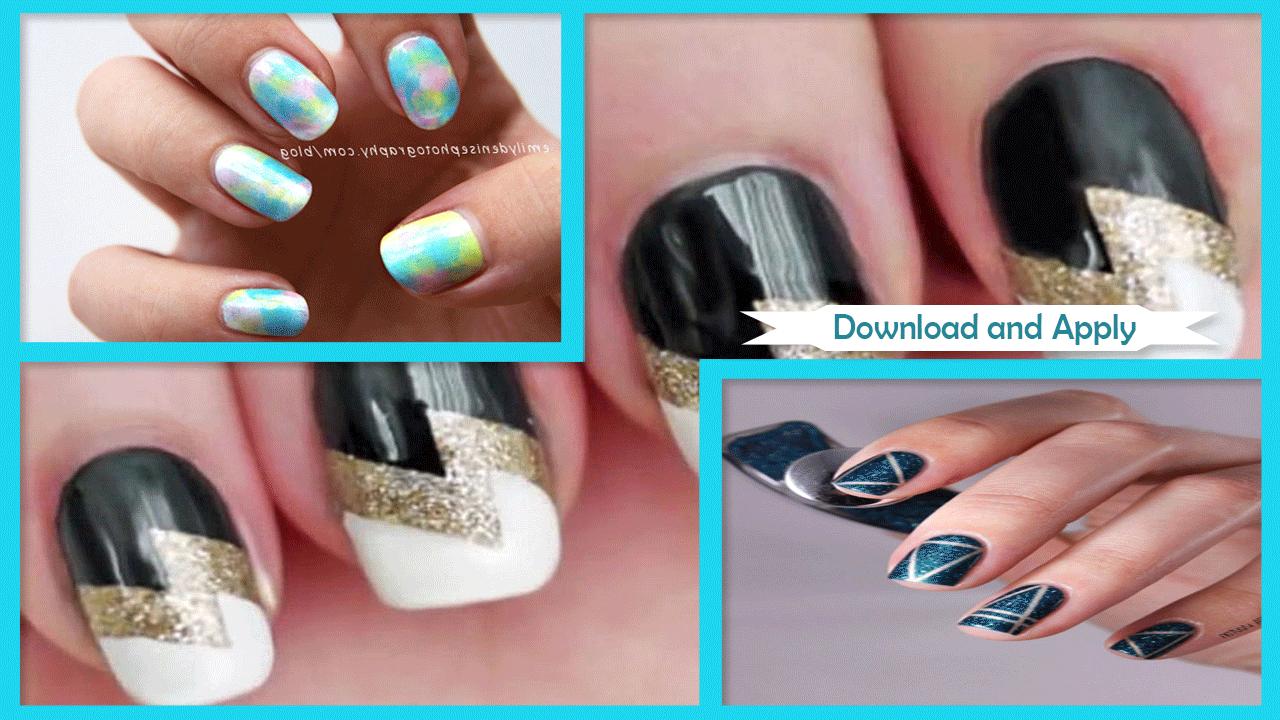
Step 3: Tape Preparation
When your nails are dry, cut off two pieces from your roll of tape to a diagonal angle. They don’t have to be big but they should be able to cover at least half of your nail. They also don’t have to be the same size, they’ll overlap each other when taped on your nail.
Step 4: Place Tapes On Nail
Place one of your tapes on your nail in a slanting position. The other one should overlap the first tape but make sure that it’s positioned a bit higher. This should resemble one side of the lightning.
Make sure all the edges stick on the nail to avoid any leakage when you start painting your nail later on.
for further information and detail tutorial, download this now and grab what you want.
please enjoy this DIY Golden Lightning Tape Nail Art and give us any feedback.
Um clique para instalar arquivos XAPK/APK no Android!
Obrigado pela sua classificação e feedback!
Você já classificou.